

Does anyone else remember the TV advert London Needs Biscuits? It was short-lived but I'm pleased to say it's finally been posted on You Tube! The story goes like this:
London is a cold & miserable place where no one smiles....until Fox's comes along and saves the day with their baked treats. These days the UK is infatuated by cake. I'd never say no to a slice of sponge, but when people think cakes are superior to biscuits I disagree. The biscuit is the tea drinker's best friend after all, you can't dunk a cupcake. Possibly the most sociable of all snacks, is the candy shaded, icing coated Fox's Party Ring. Greater spotted at children's parties, it's a design classic. One that evokes the most happiest of memories. Trouble is, eating one when you're an adult isn't the same. They don't dunk as well as other biccies. I've come to the conclusion that they are best reserved for crafting where their aesthetic beauty can be properly appreciated....and hey, they make for far more attractive beads than the those teeny tiny candy necklaces which worrying are these days sold as thongs & nipple tassels ...

To make a party ring necklace you will need:
- A pack of party rings (these cost me 50P in Waitrose*, so I suspect they are cheaper in Asda, Iceland etc...?)
- Scissors
- Ribbon (assorted)

Inspect your biscuits - eat any broken ones. Regrettably there were no injured ones in my pack...

...but I did discover that they don't seem to match the wrapper which was disappointing.
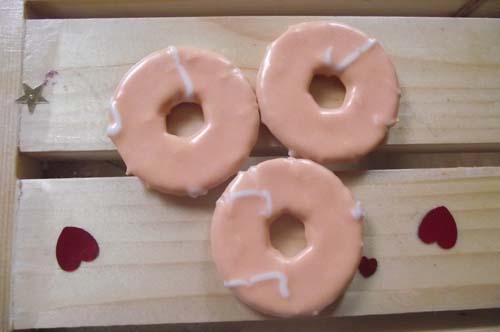
I also I regret to announce that none of the peach ones were selected - what went on with the icing here??!

Arrange an order you're happy with.

Before you start you'll need to cut your ribbon strips cut into 20cm lengths.

Take your first two biccies.

Feed a piece of ribbon through the first two and tie a double knot so it's nice and tight.

Attach the third biscuit in the same way.

When you're done the back will look like this. Trim the ends. Don't worry if it feels delicate it's actually a strong structure and the icing is so solid, it won't chip so you can tie the ribbon as tightly as you want without fearing the cookies will snap.

The front will look like this!

Next choose a different ribbon for the ends. I consulted my ribbon box and settled for pink fluffy trim.

I tied a piece on at each end. The necklace can be worn just by tying it around your neck or if you use a normal ribbon, you should be able to attach necklace findings at either end so that you can take it on and off more easily.
CRAFT WARNING!!!! This necklace smells absolutely divine!! The candy sweetness lingers for ages, I'm convinced it has afrodisiac properties so don't waste it on children, while it makes for a good kid's party activity, it's a just as fabulous an addition to clubwear!
Fellow biscuit lovers may be interested to know that next month, London is hosting the first ever British Biscuit Festival! It includes a build a biscuit workshop and tea and biscuit social! Yum!
NB: Eat this necklace while it's fresh, OR if you want it to last a little longer, varnish each cookie first (though the downside is that varnish will probably mask the scent!)
Thank you to the lovely Simon Mole who inspired this project!


